Creating Rotations
Rotations represent your clinical training periods at different medical institutions. You can create new rotations from two convenient locations in Core Tracker.
Where to Create Rotations
1. Dashboard Quick Actions
From the main Dashboard:
- Navigate to Dashboard: Go to your main dashboard page
- Find Quick Actions: Look for the "Quick Actions" section
- Click New Rotation: Click the "New Rotation" button with the purple sync icon
- Fill Out Form: Complete the rotation creation form
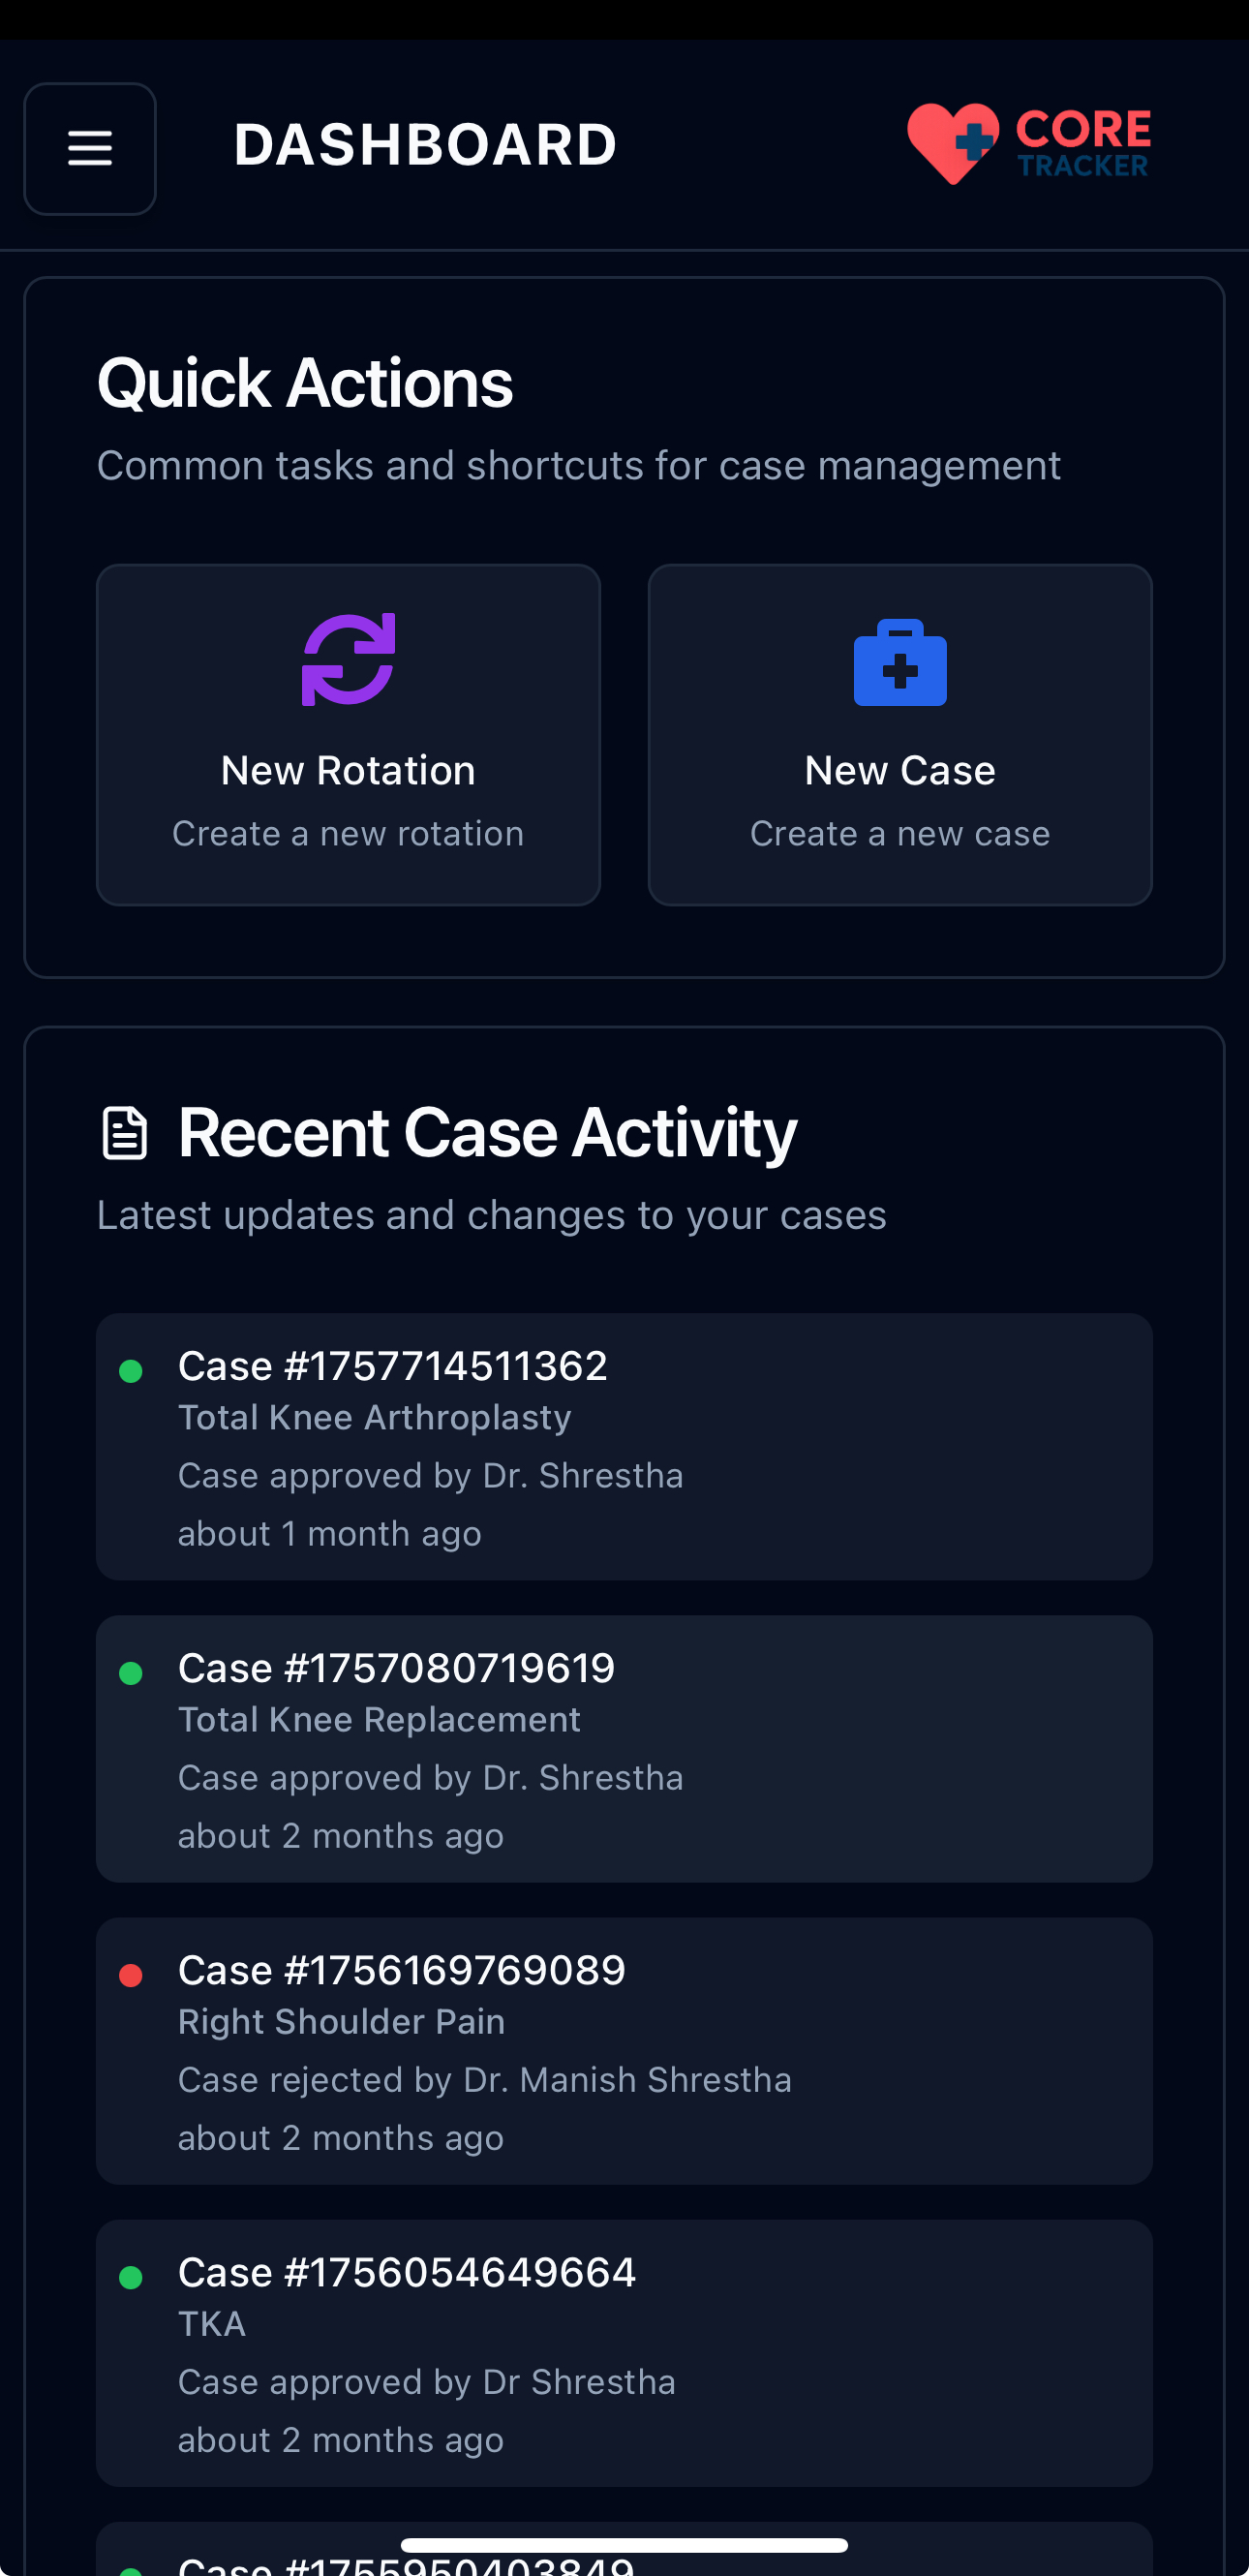
Quick Actions section on the Dashboard
2. Rotations Page
From the dedicated Rotations page:
- Navigate to Rotations: Go to the Rotations page from the main navigation
- Find Add Button: Look for the plus (+) icon button in the top-right corner
- Click Add Rotation: Click the plus button to open the rotation form
- Fill Out Form: Complete the rotation creation form
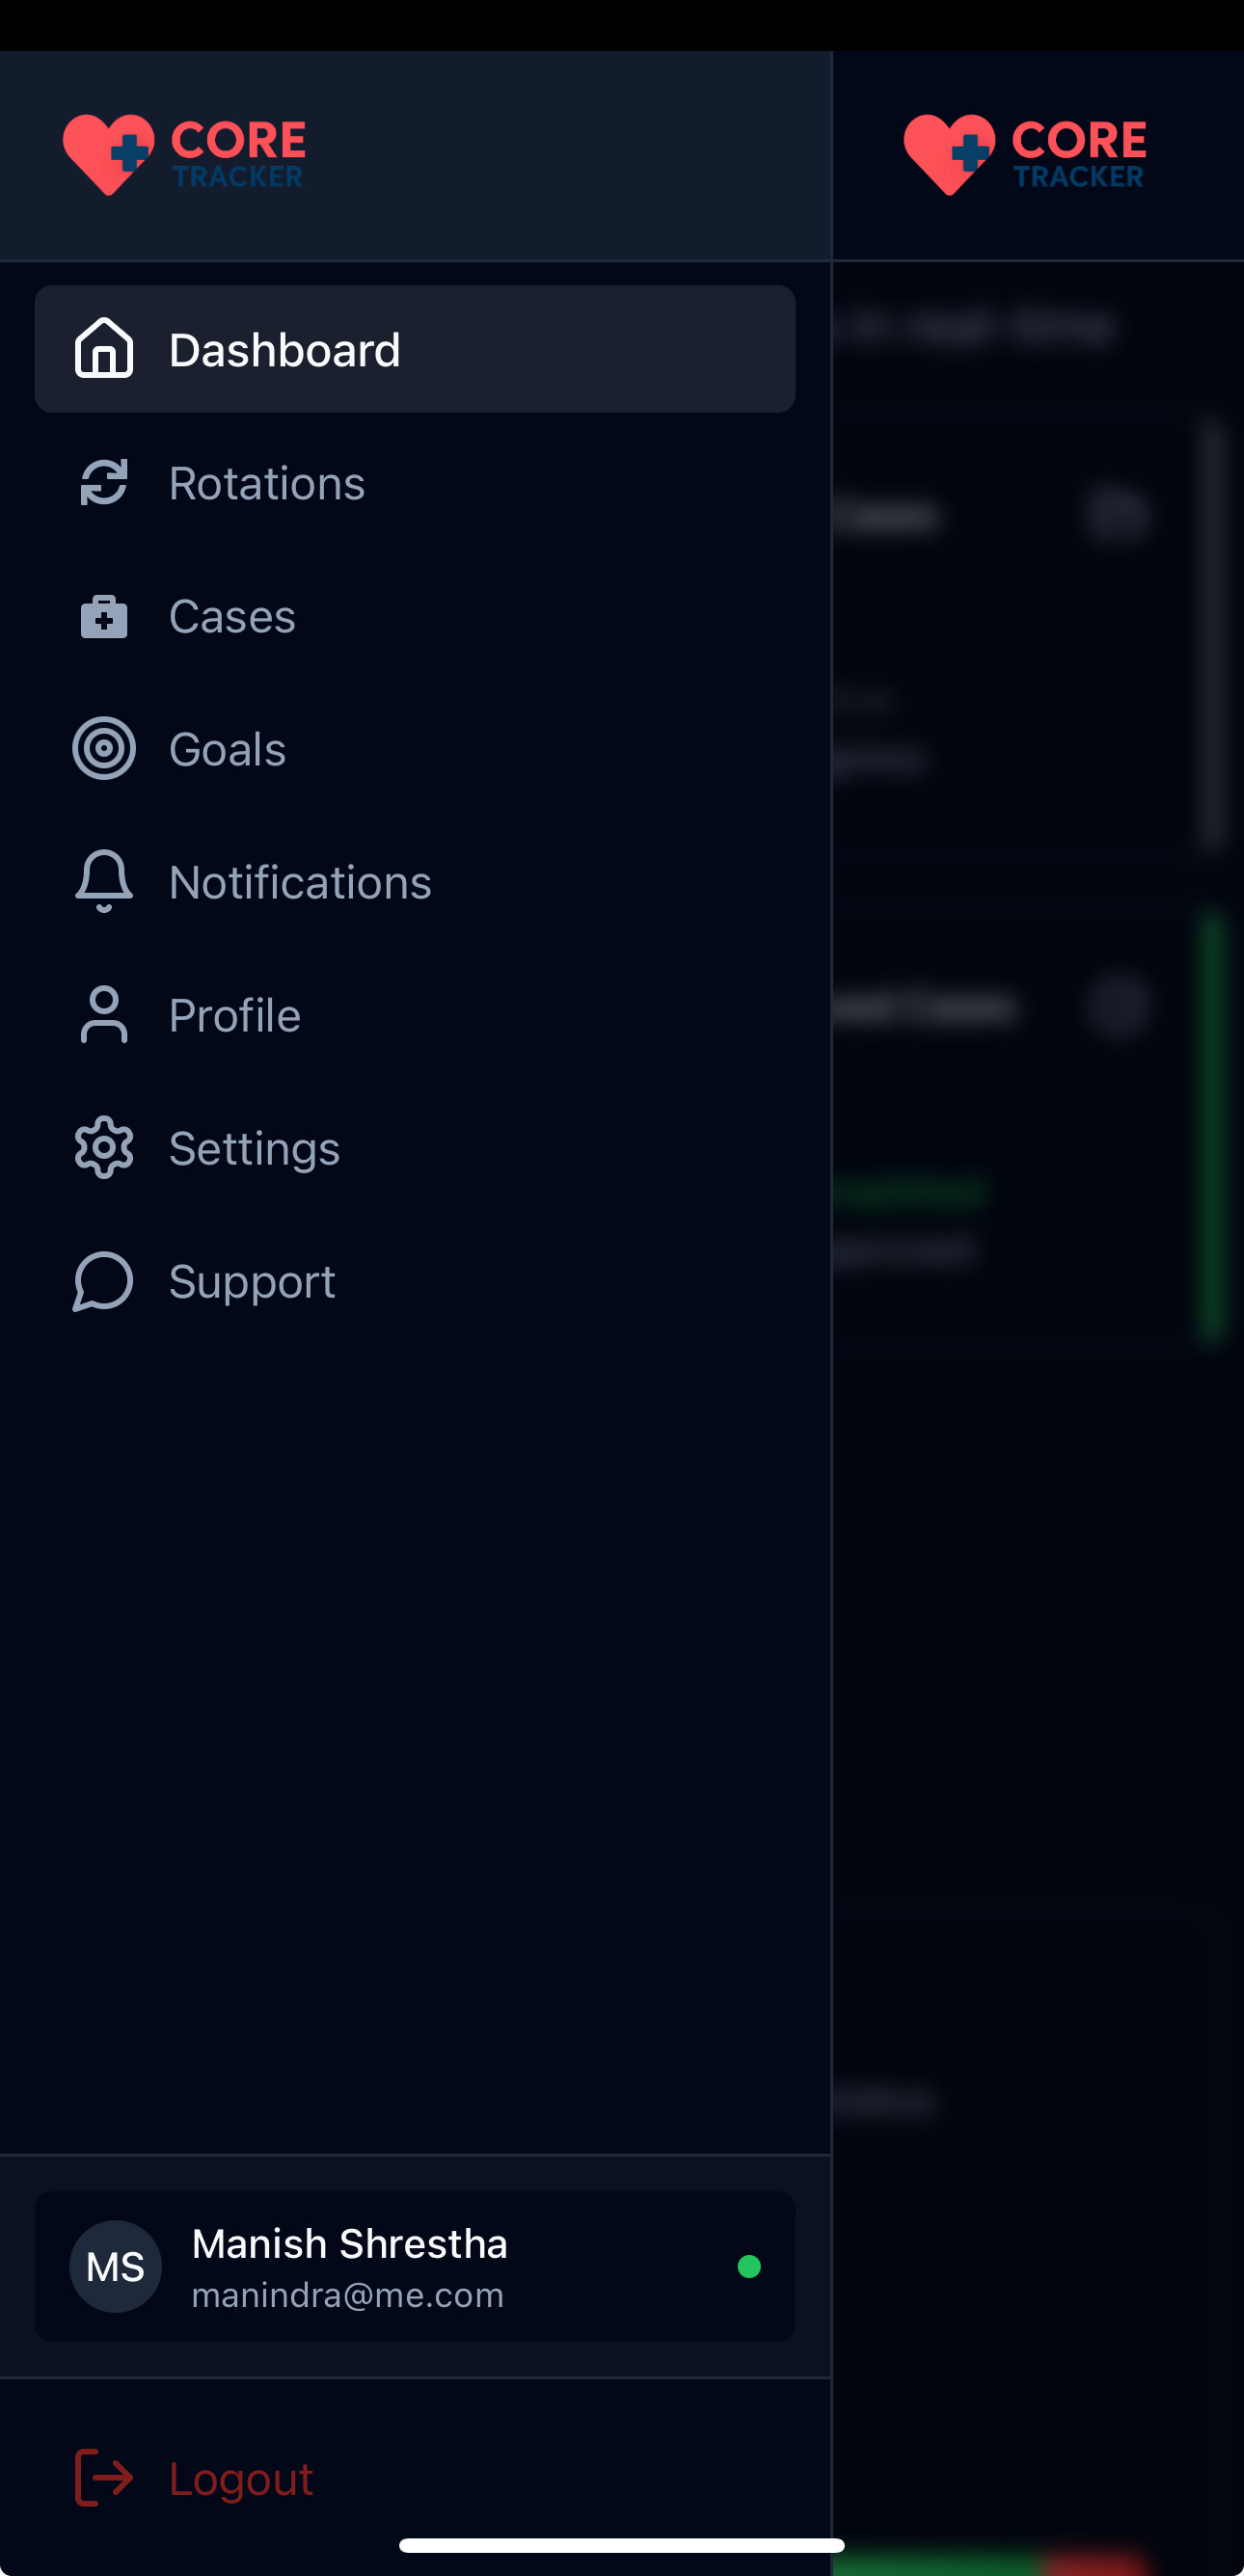
Rotations page with navigation menu open
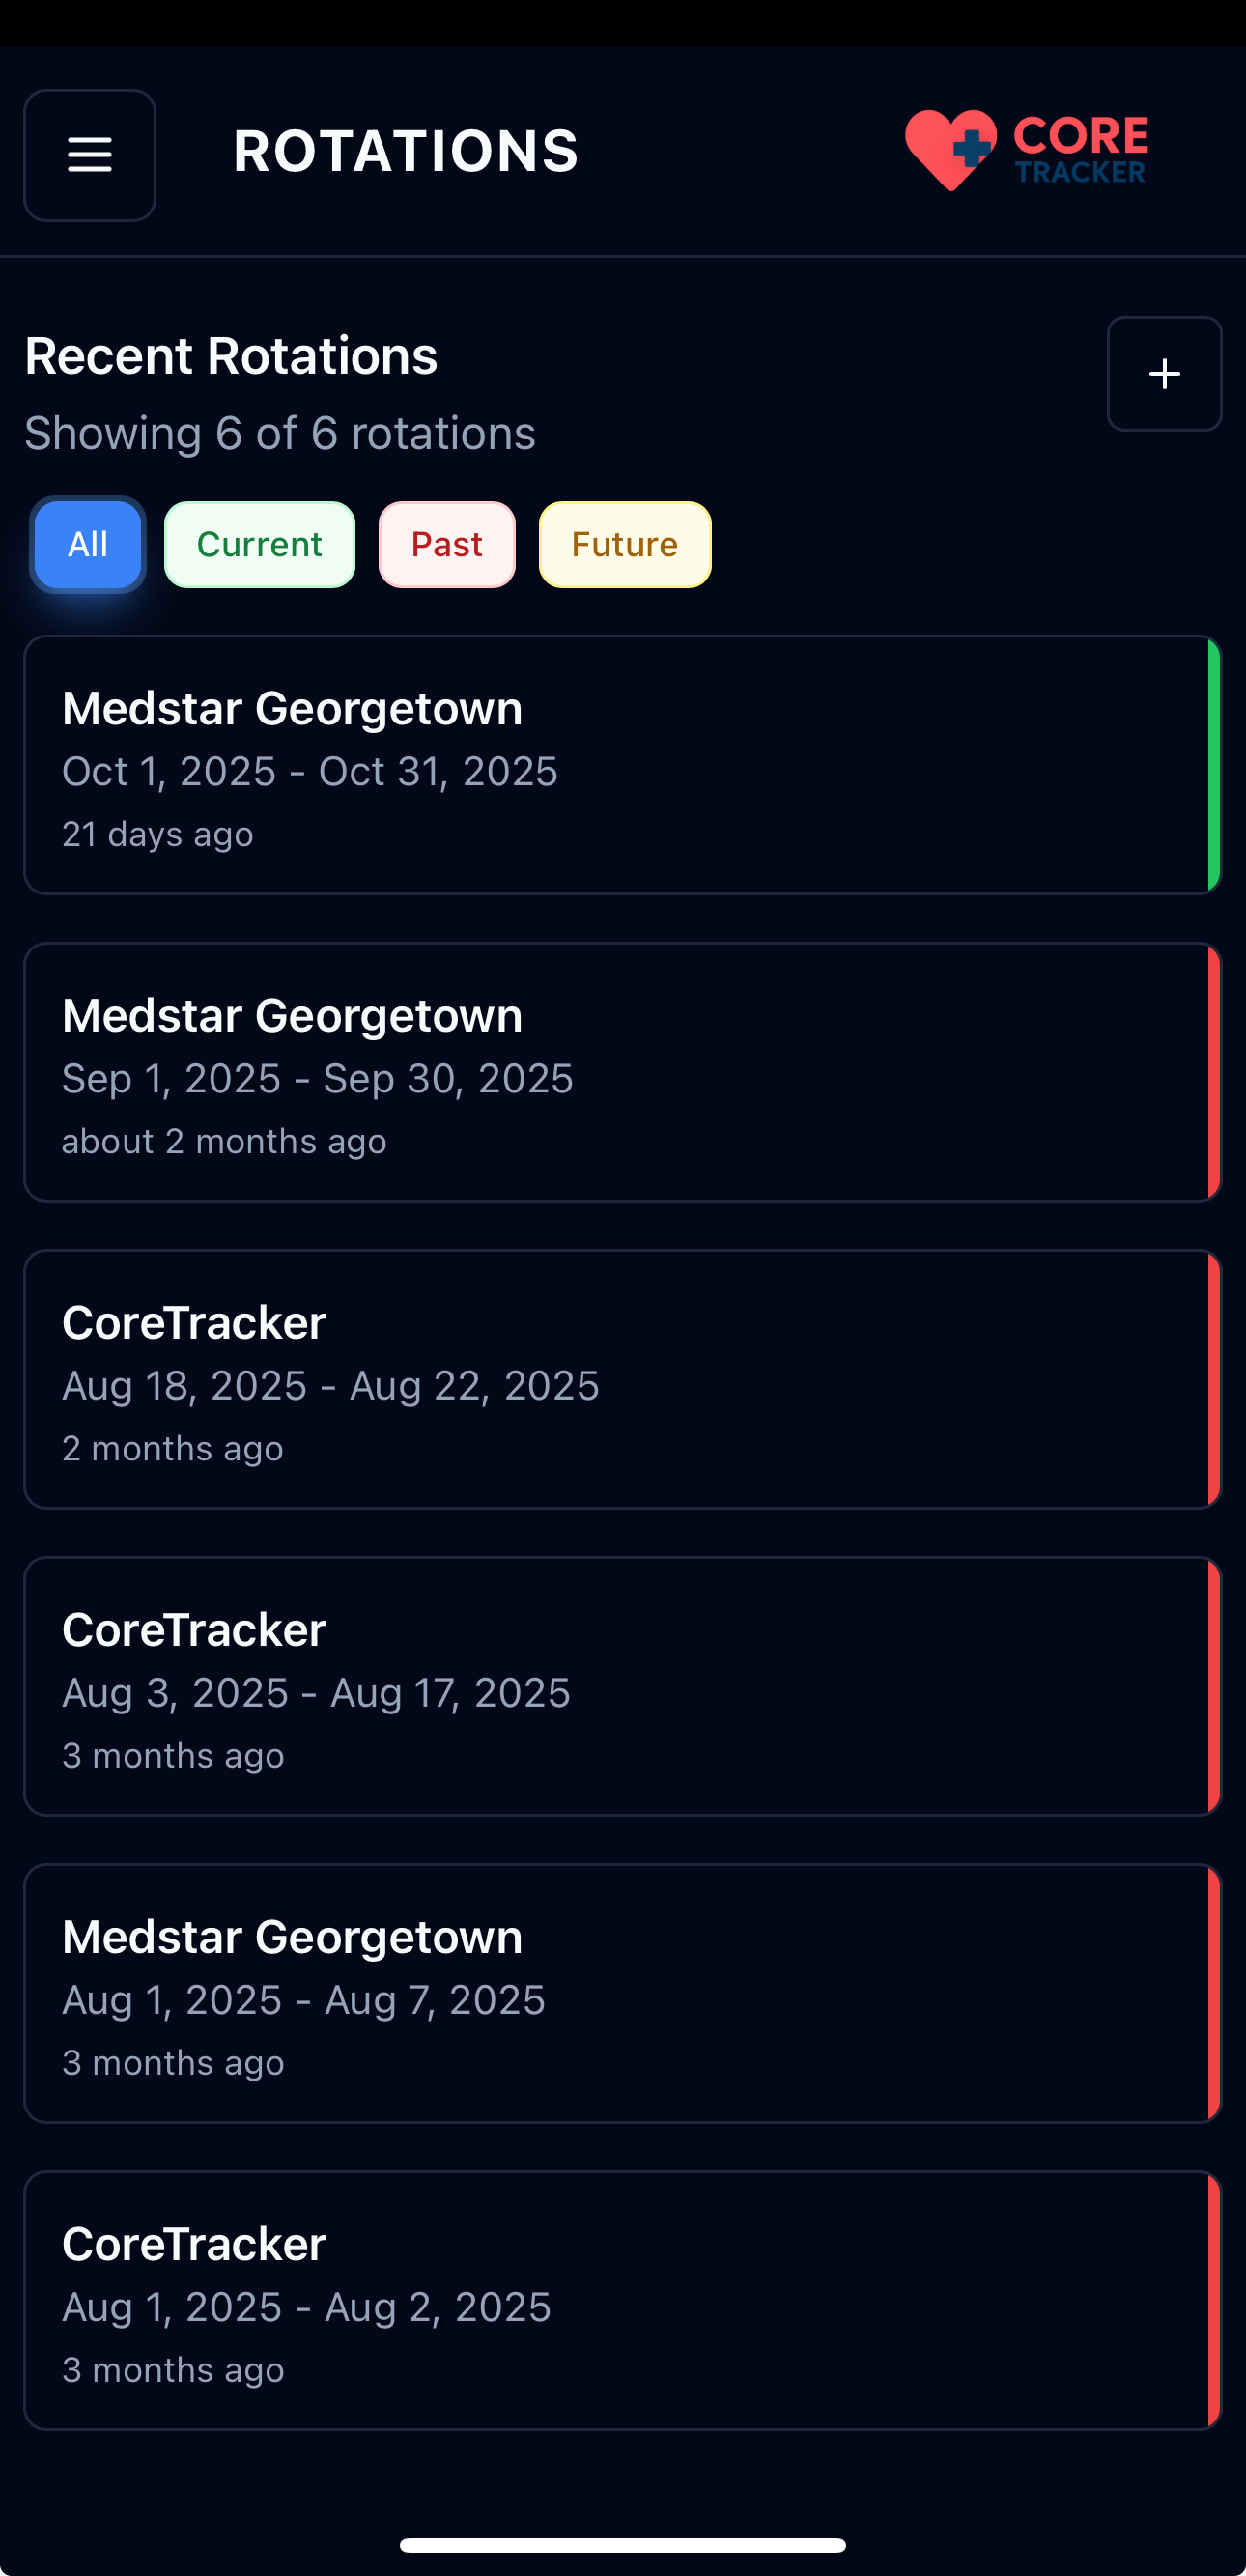
Rotations page showing navigation menu and add button
Filtering Rotations
The Rotations page includes filter buttons to help you organize your rotations by status:
- All (Blue): Shows all rotations regardless of status
- Current (Green): Shows rotations that are currently active (today falls within the rotation dates)
- Past (Red): Shows rotations that have already ended
- Future (Yellow): Shows rotations that haven't started yet

Filter buttons for All, Current, Past, and Future rotations
To use the filters: 1. Click Filter Button: Click any of the filter buttons (All, Current, Past, Future) 2. View Filtered Results: The rotation list will update to show only rotations matching that status 3. Active Filter: The selected filter will be highlighted with a colored background 4. Clear Filter: Click "All" to see all rotations again
Rotation Creation Form
When you click either "New Rotation" button, you'll see a form with the following required fields:
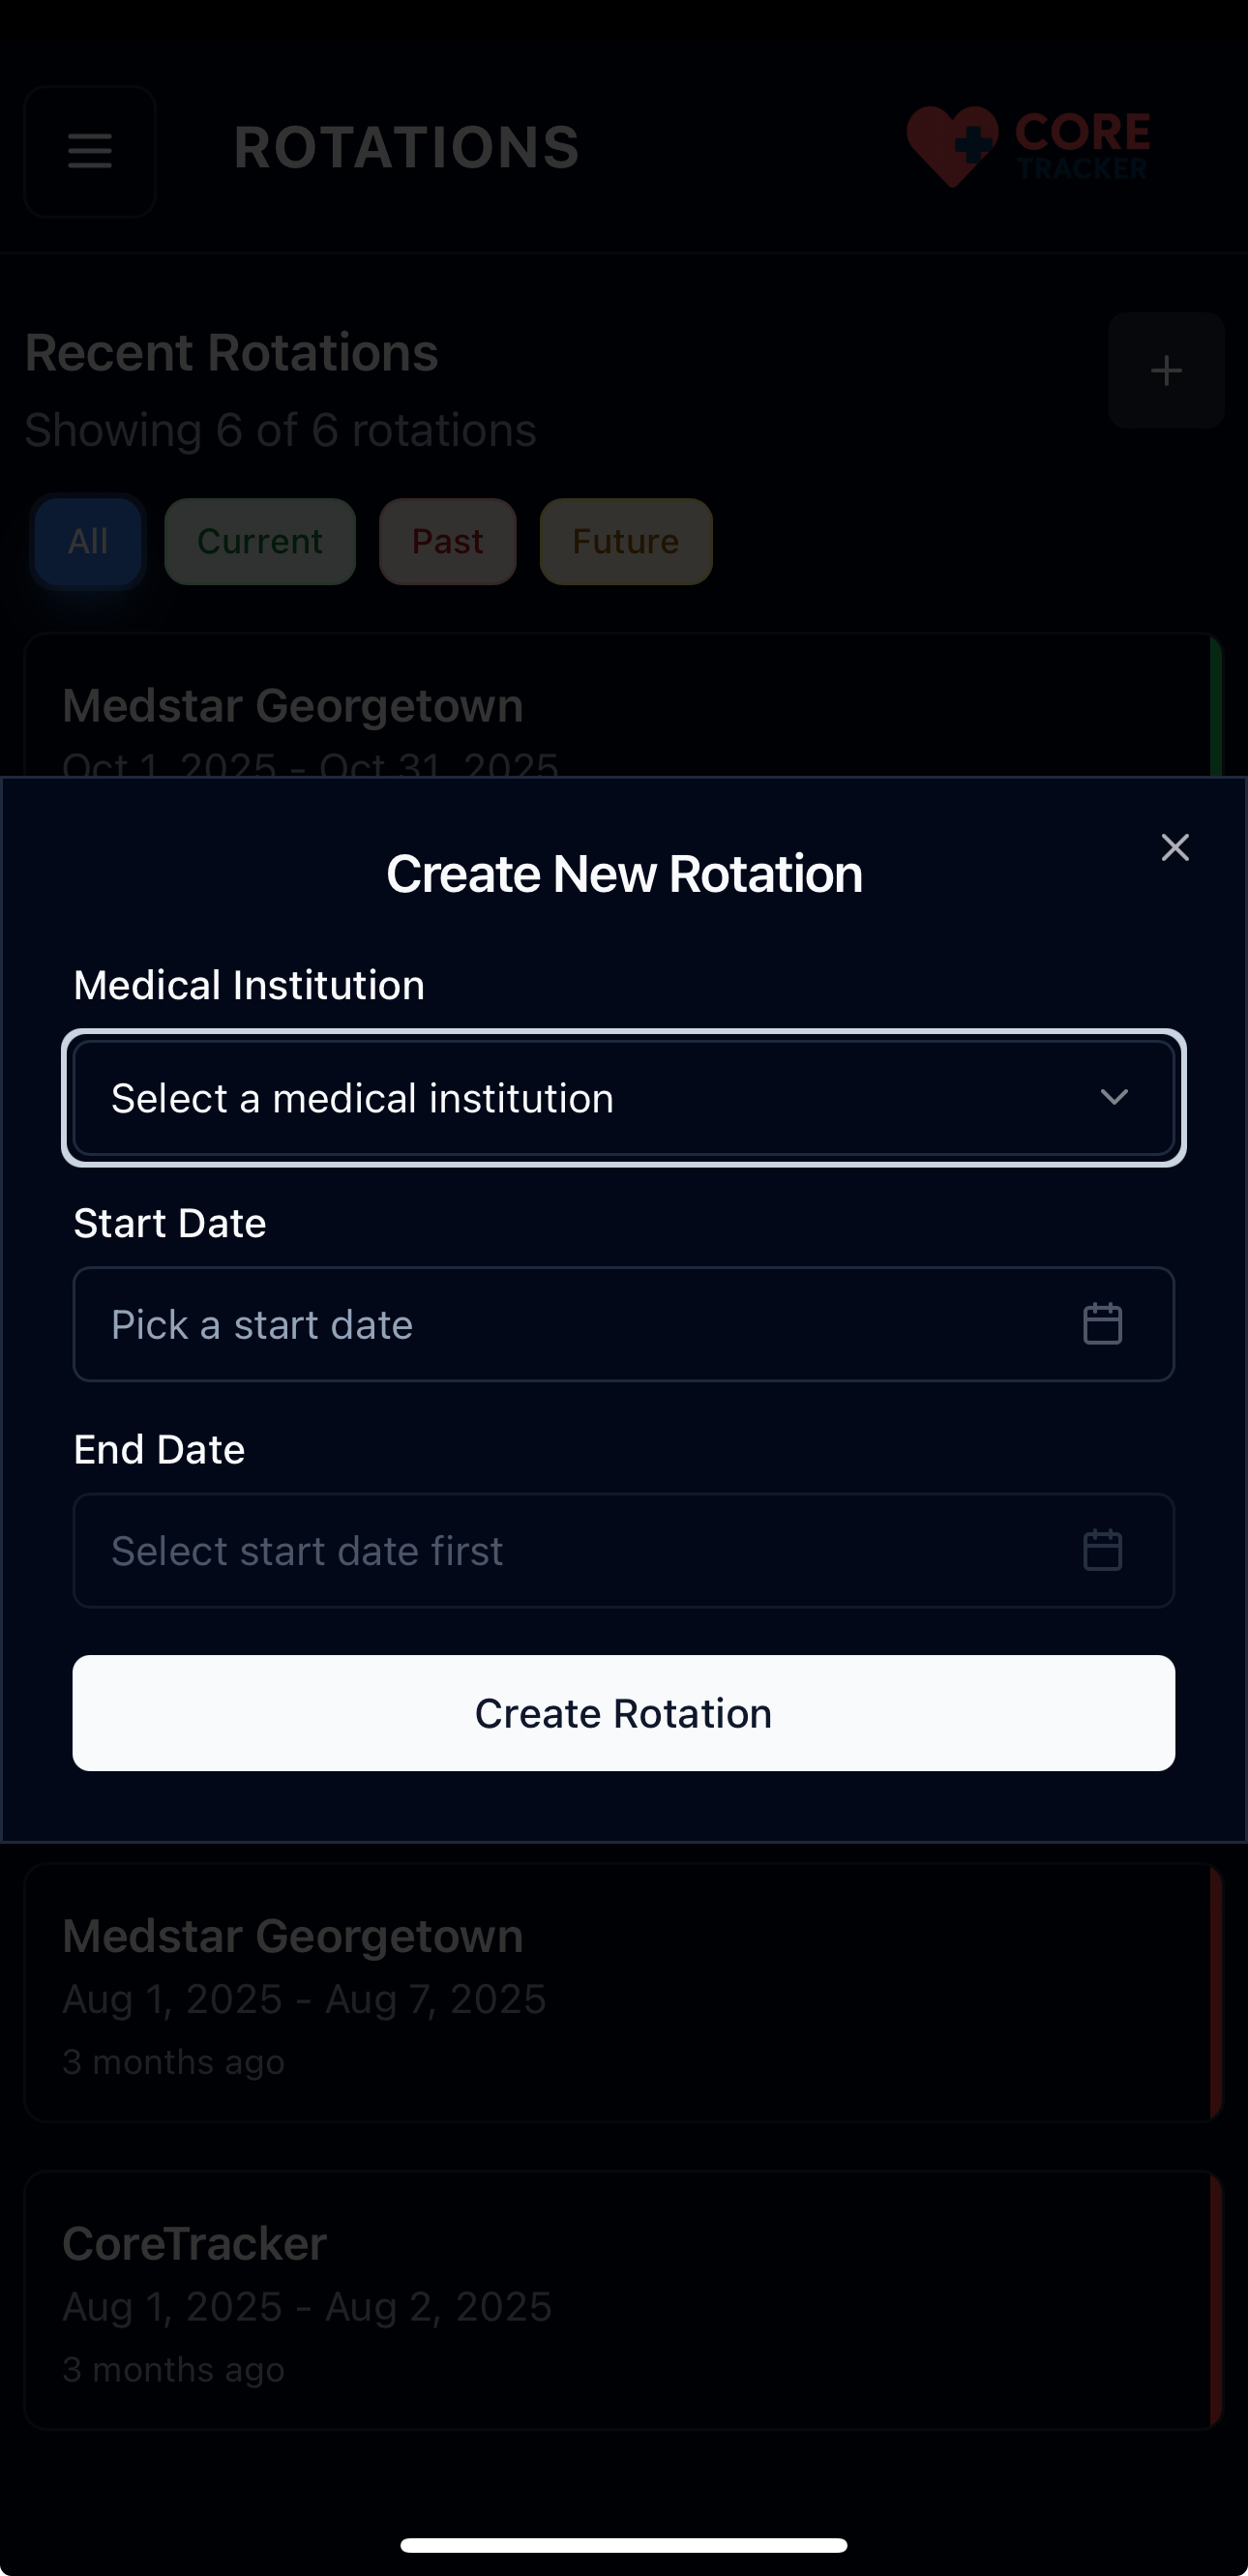
Rotation creation form with required fields
Required Information
- Medical Institution: Select the hospital or medical facility where you'll be rotating
- This is a dropdown list of available institutions
-
You must select from the existing list
-
Start Date: Choose when your rotation begins
- Use the calendar picker to select the start date
-
This date is required
-
End Date: Choose when your rotation ends
- Use the calendar picker to select the end date
- Must be after the start date
- This date is required
Form Validation
The system will validate your entries: - All fields are required - End date must be after the start date - Medical institution must be selected from the available list
Creating the Rotation
- Fill Out All Fields: Complete the medical institution, start date, and end date
- Review Information: Double-check that all details are correct
- Click Create: Click the "Create" button to save your rotation
- Confirmation: You'll see a success message when the rotation is created
After Creating a Rotation
Once your rotation is created:
- Dashboard Update: The rotation will appear in your dashboard statistics
- Rotations List: It will show up in your Recent Rotations list
- Case Creation: You can now create cases for this rotation
- Goal Tracking: You can set billing code and case count goals for this rotation period
Managing Existing Rotations
Viewing Rotations
- Dashboard: See rotation statistics and progress
- Rotations Page: View all your rotations in a detailed list
- Individual Rotation: Click on any rotation to see more details
Editing Rotations
- Go to Rotations Page: Navigate to the Rotations section
- Find Your Rotation: Locate the rotation you want to edit
- Click Edit: Look for the edit (pencil) icon
- Make Changes: Update the start date, end date, or medical institution
- Save Changes: Click save to update the rotation
Deleting Rotations
- Go to Rotations Page: Navigate to the Rotations section
- Find Your Rotation: Locate the rotation you want to delete
- Swipe Left: Swipe left on the rotation card to reveal the delete option
- Confirm Deletion: Click the delete button to confirm
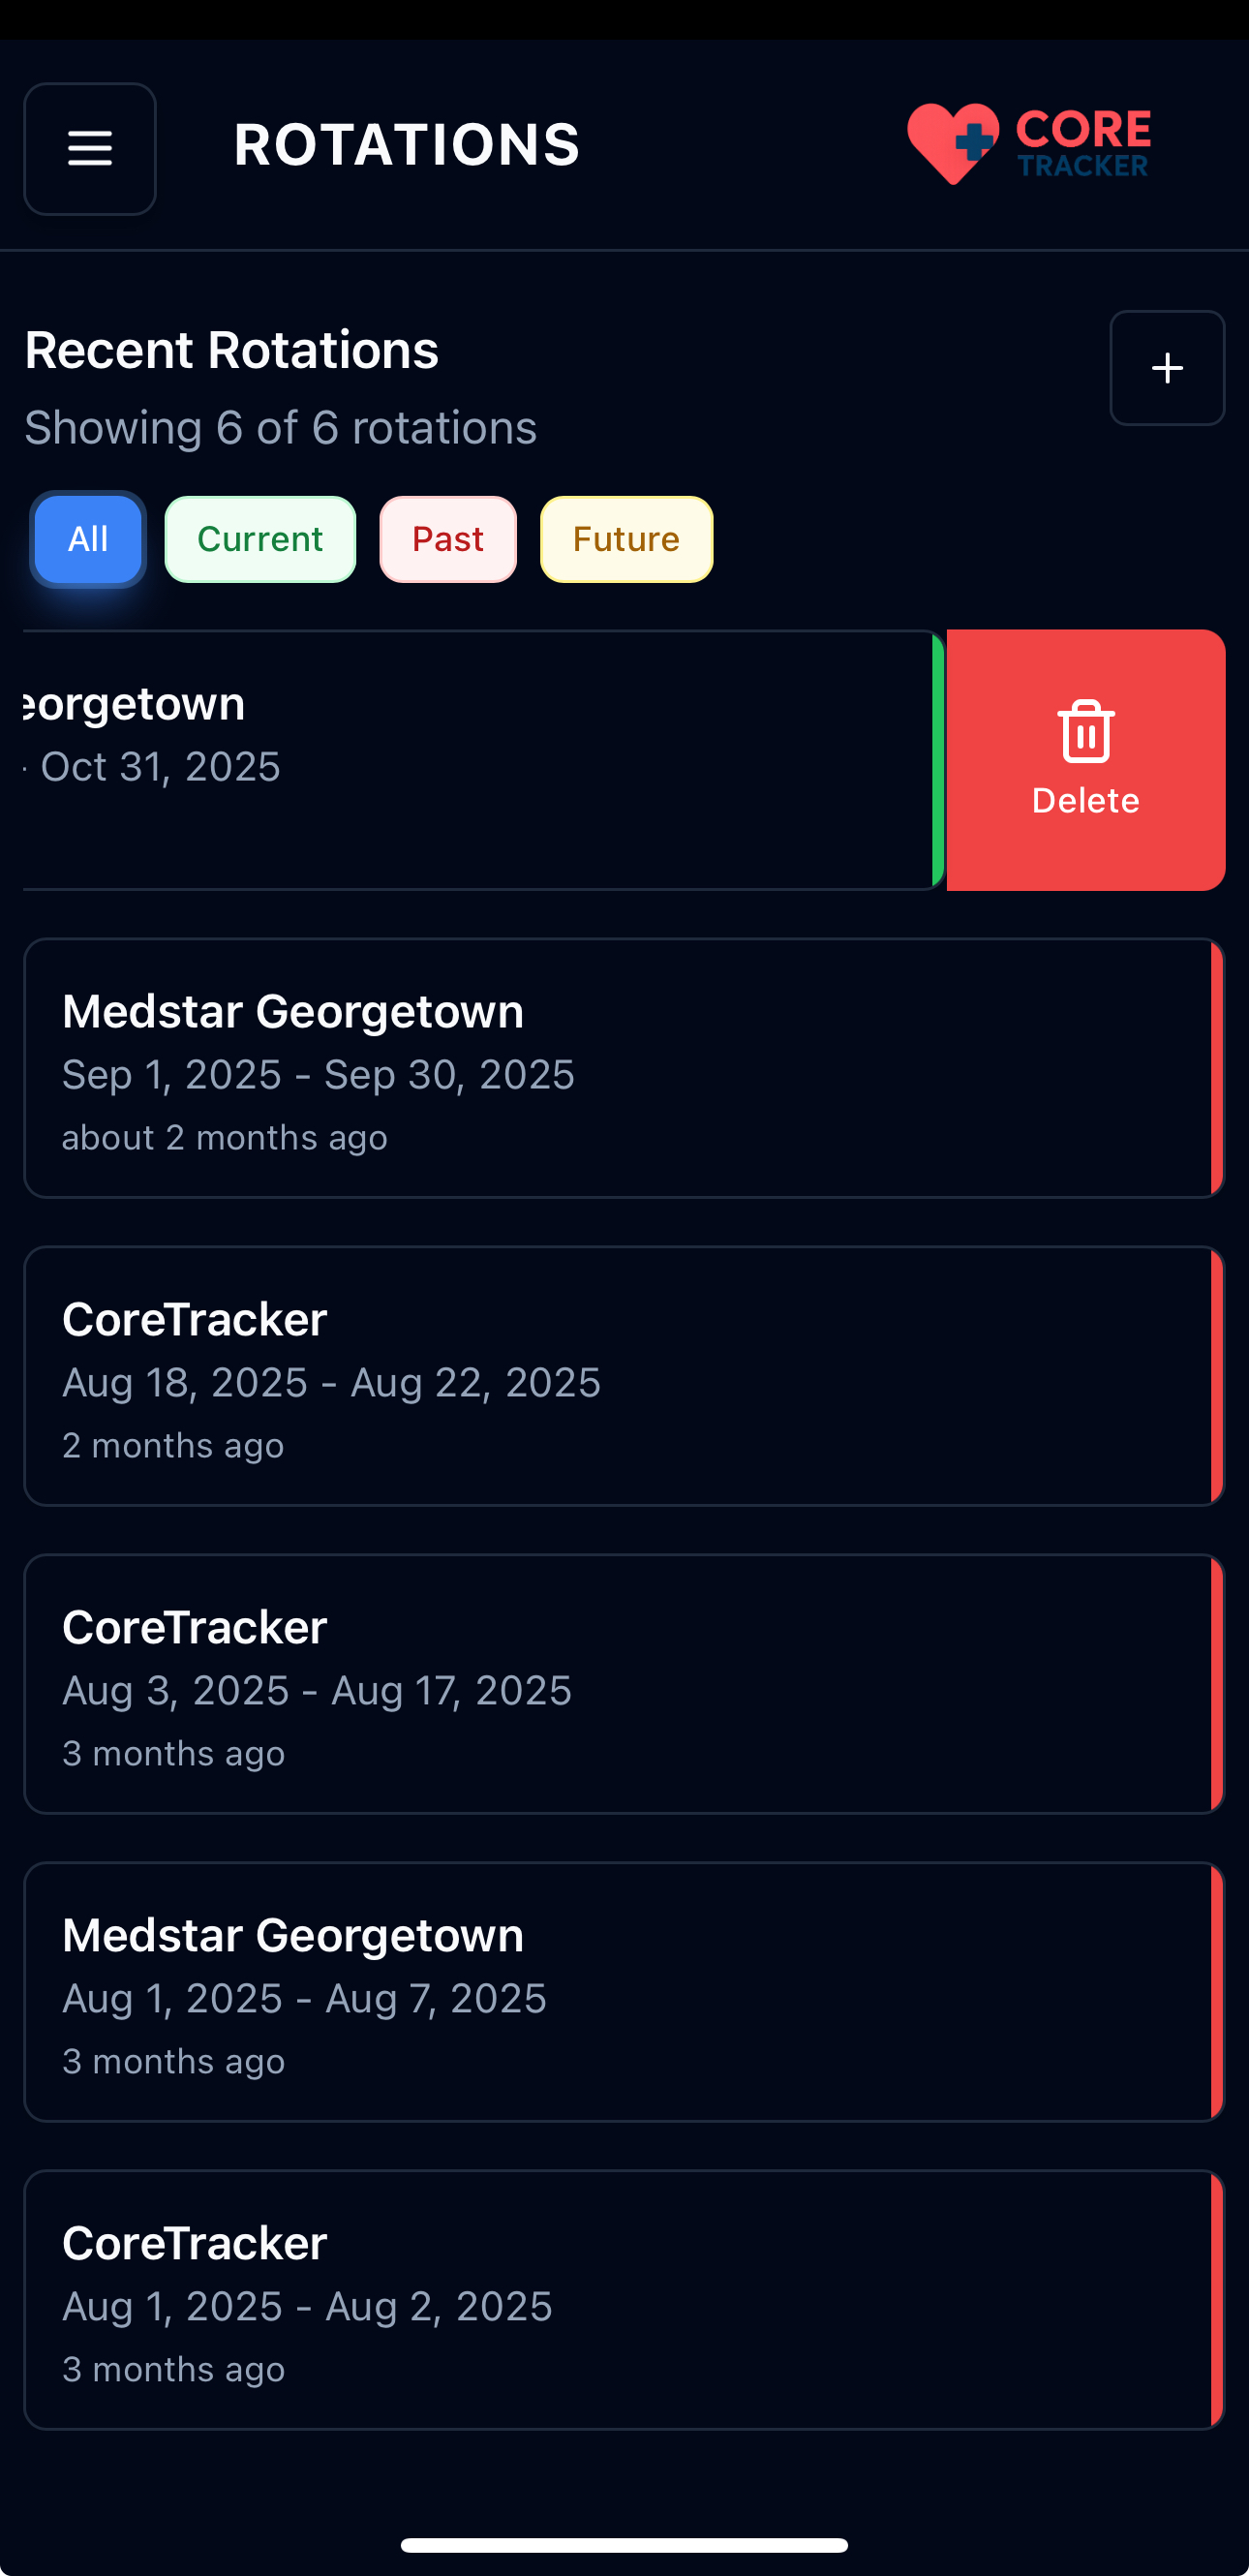
Swipe left to reveal the delete option
Deleting Rotations
You cannot delete a rotation that has associated cases. The system will prevent deletion and show an error message if you try to delete a rotation with cases.
Swipe Actions on Rotation Cards
Rotation cards support swipe gestures for quick actions:
- Swipe Left: Reveals the delete button (red background)
- Swipe Right: Reveals two action buttons:
- Cases (blue): View cases for this rotation
- Edit (yellow): Edit the rotation details
To use swipe actions: 1. Touch and Swipe: Touch the rotation card and swipe left or right 2. Action Buttons: The swipe reveals action buttons that you can tap 3. Reset: Tap elsewhere or swipe back to return the card to normal position
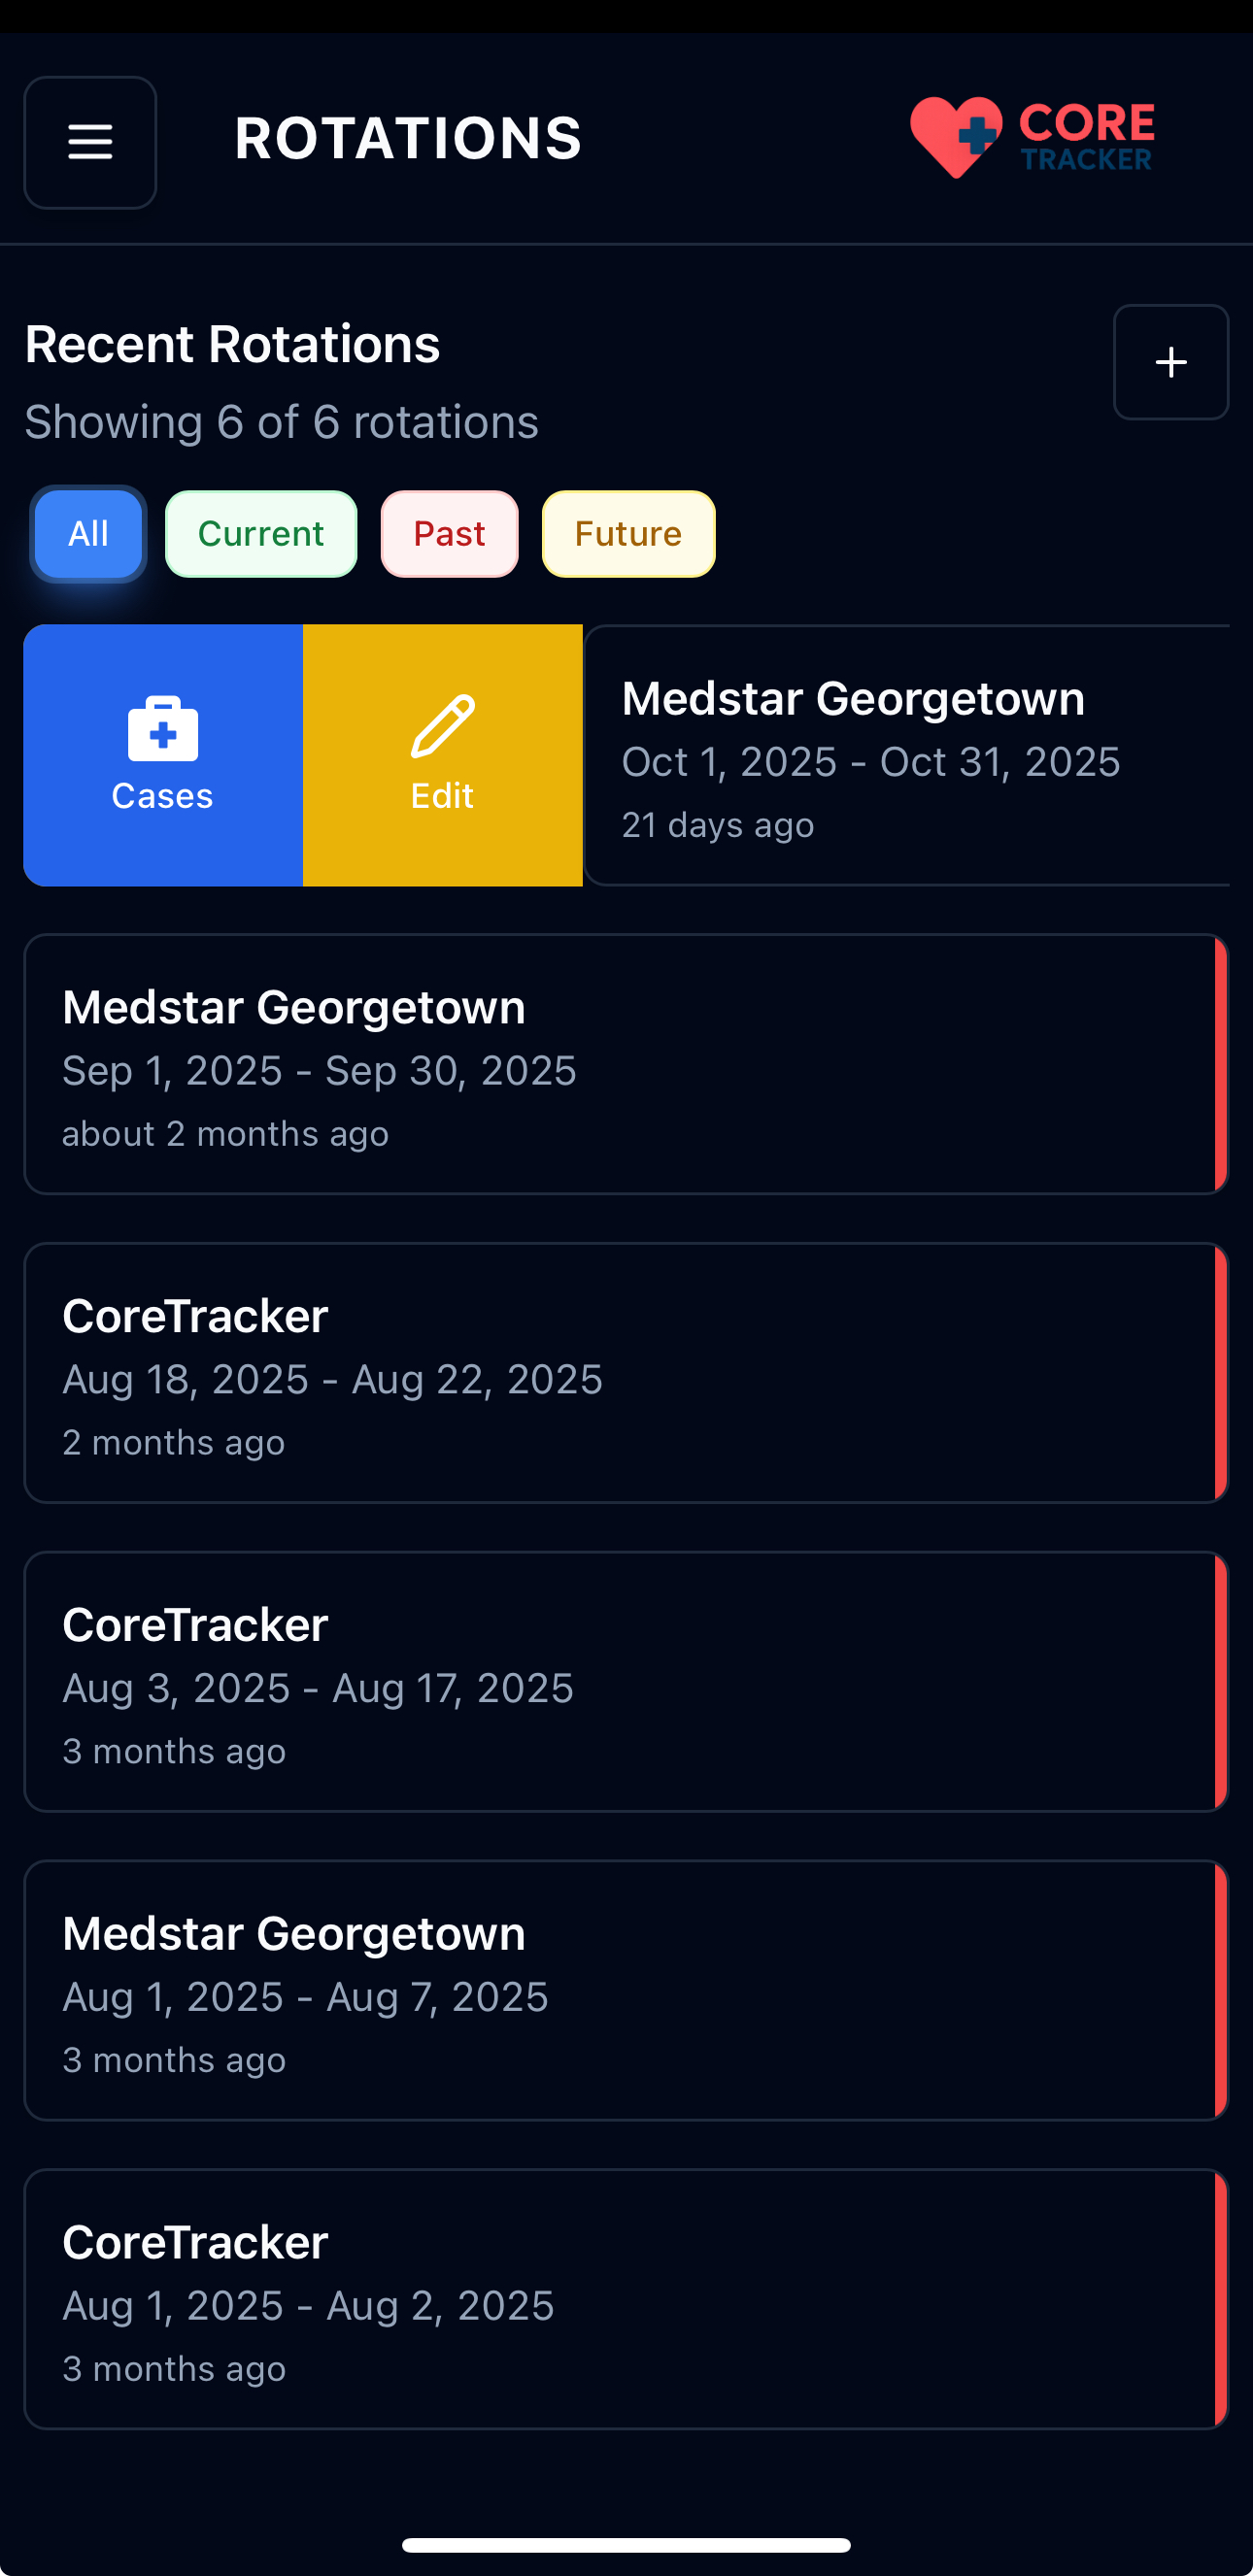
Swipe right to reveal Cases and Edit actions on rotation cards
Tips for Creating Rotations
- Plan Ahead: Create rotations before they start to set up your tracking
- Accurate Dates: Use the exact start and end dates from your schedule
- Institution Selection: Make sure to select the correct medical institution
- Multiple Rotations: You can have multiple rotations running simultaneously
Troubleshooting
Can't Find Your Institution?
If you don't see your medical institution in the dropdown: - Contact your program administrator - The institution may need to be added to the system - Check with your medical school's IT department
Date Issues
If you're having trouble with dates: - Make sure the end date is after the start date - Check that you're using the correct year - Verify the dates match your official rotation schedule
Form Not Submitting
If the form won't submit: - Check that all required fields are filled out - Verify the end date is after the start date - Try refreshing the page and filling out the form again - Contact support if the problem persists
Next Steps
After creating your rotation:
- Create Your First Case - Log medical cases for this rotation
- Set Goals - Track your progress with billing code and case count goals
- Explore the Dashboard - Monitor your progress